
Vegan Peanut Butter Cups with Date-Sweetened Filling

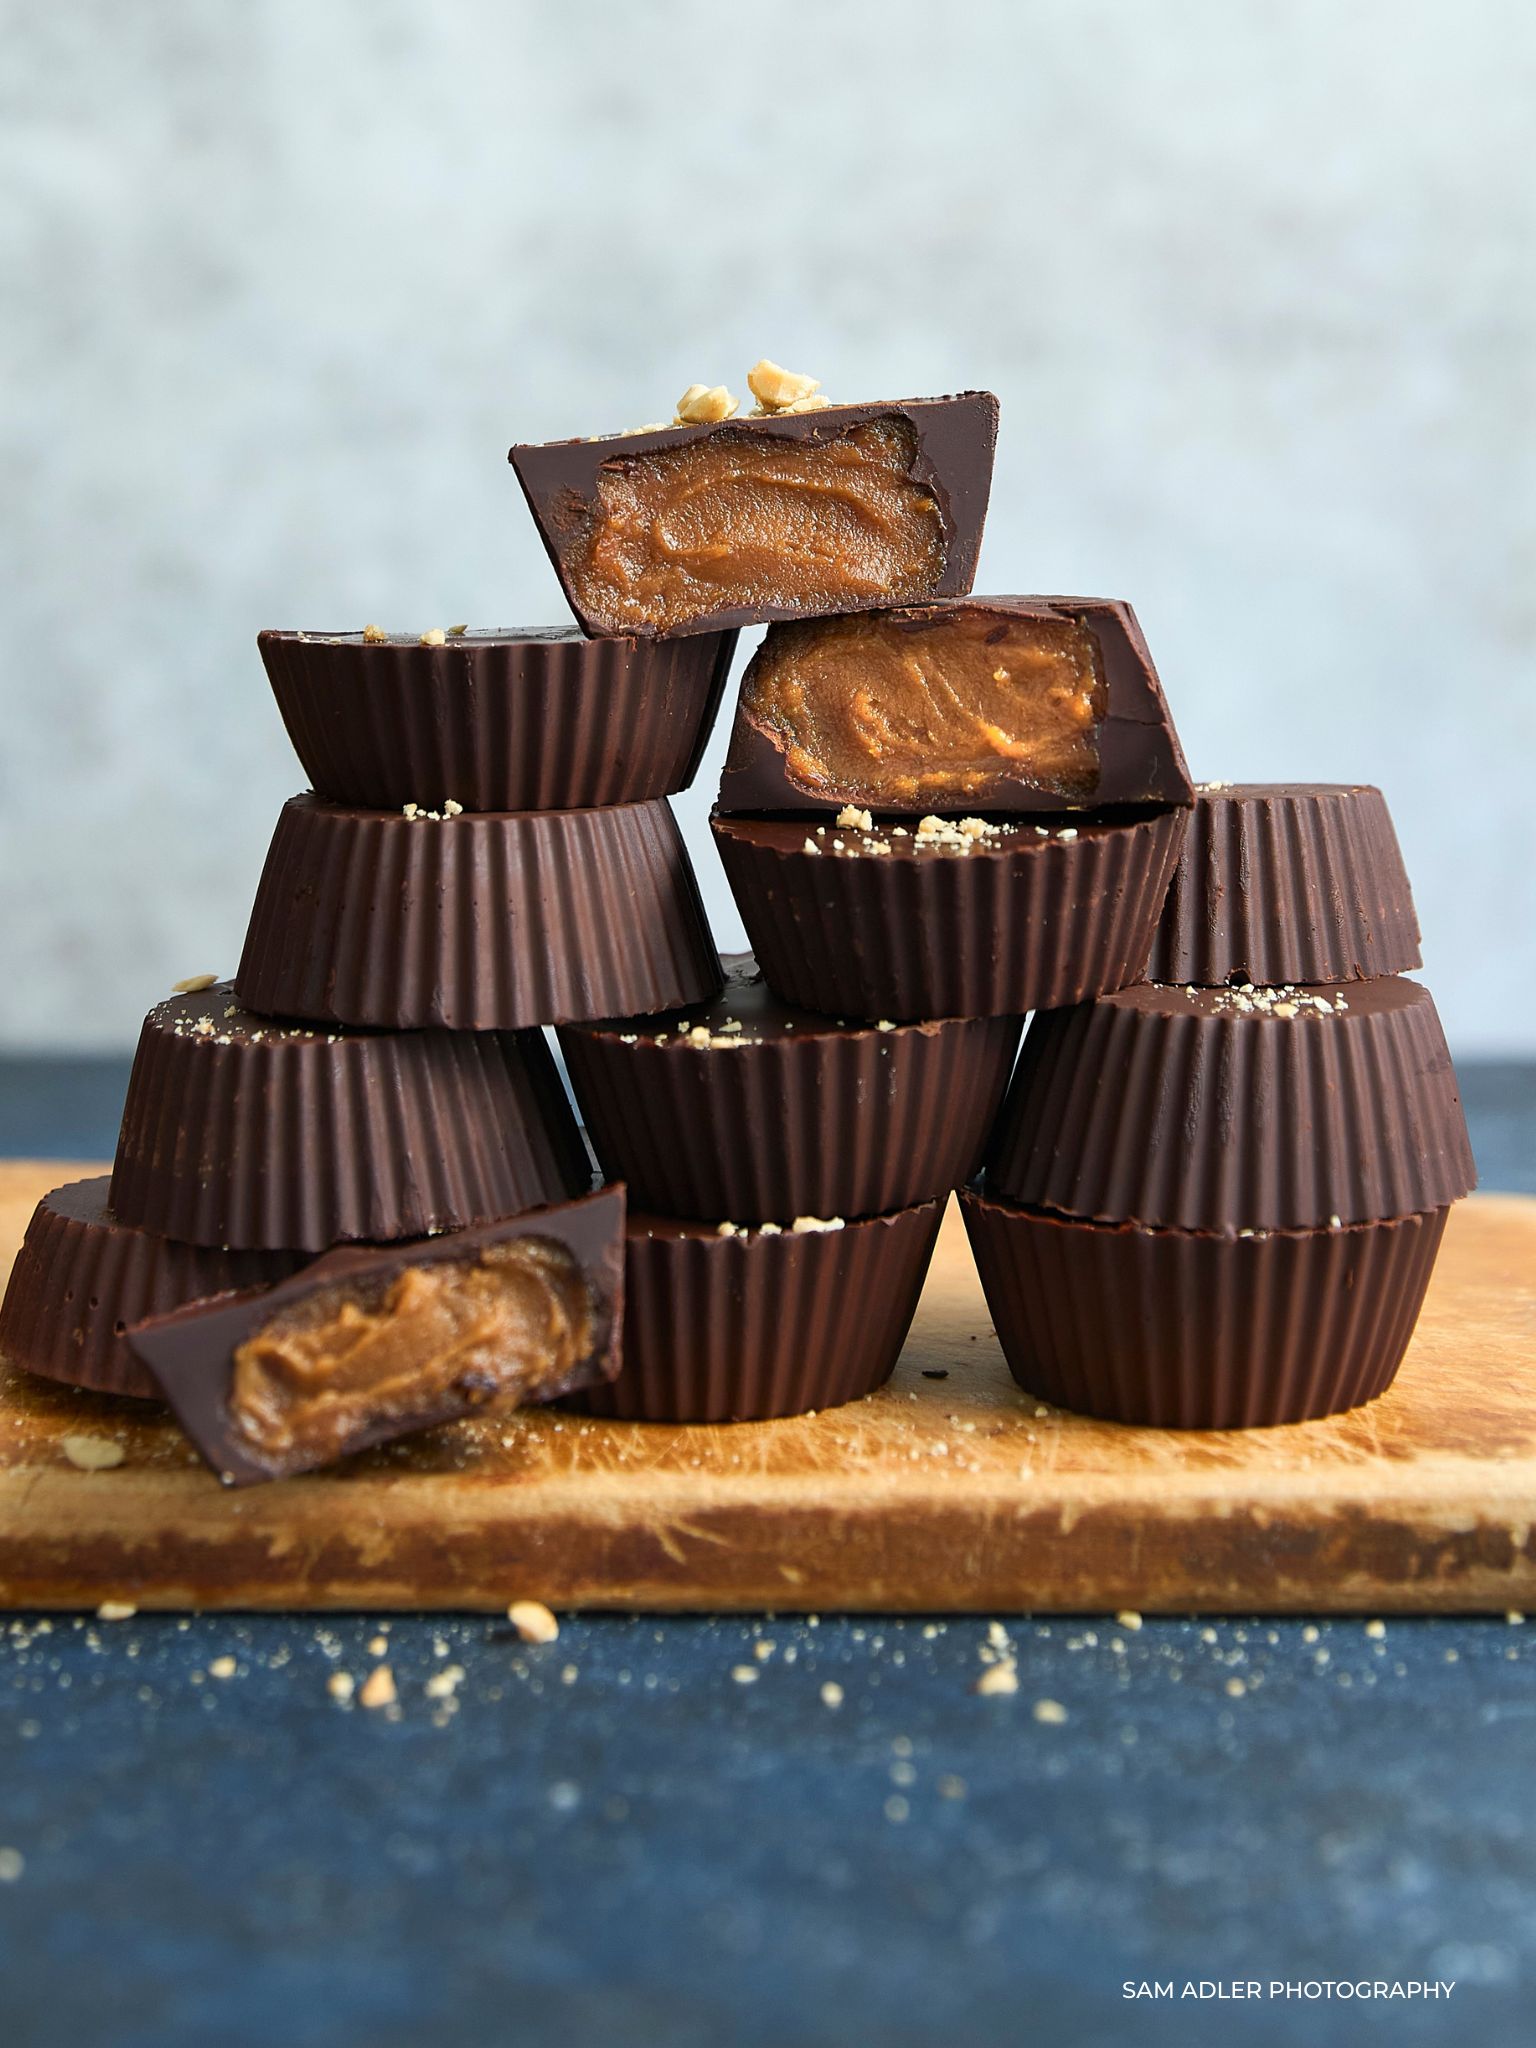
Vegan peanut butter cups pair a creamy date-sweetened peanut filling with a simple chocolate shell for an easy homemade version of a familiar favorite.
Recreating a Favorite With Simpler Ingredients
I used to love Reese’s Peanut Butter Cups but had not indulged in them for years. This vegan peanut butter cups recipe makes it easy to recreate that familiar combination with just a few ingredients.
Peanut butter, date paste, and vanilla create the center, while date-sweetened or unsweetened chocolate forms the shell. I can control the sweetness, salt, and thickness of the chocolate instead of relying on a long ingredient list. They are still a rich treat, but this version fits the way I prefer to make familiar favorites.
Javant’s Health Tips
Conventional peanut butter cups commonly combine refined sugar with added oils and other highly processed ingredients. This version uses peanut butter without added oil or sweetener and date paste made from whole dates, which retains fiber and naturally occurring minerals.
Peanuts provide protein and mostly unsaturated fat. Chocolate still makes these energy-dense, so portion size matters even when the ingredient list is simpler.
Use seed butter for a peanut- and nut-free variation.
Key Ingredients and Substitutions
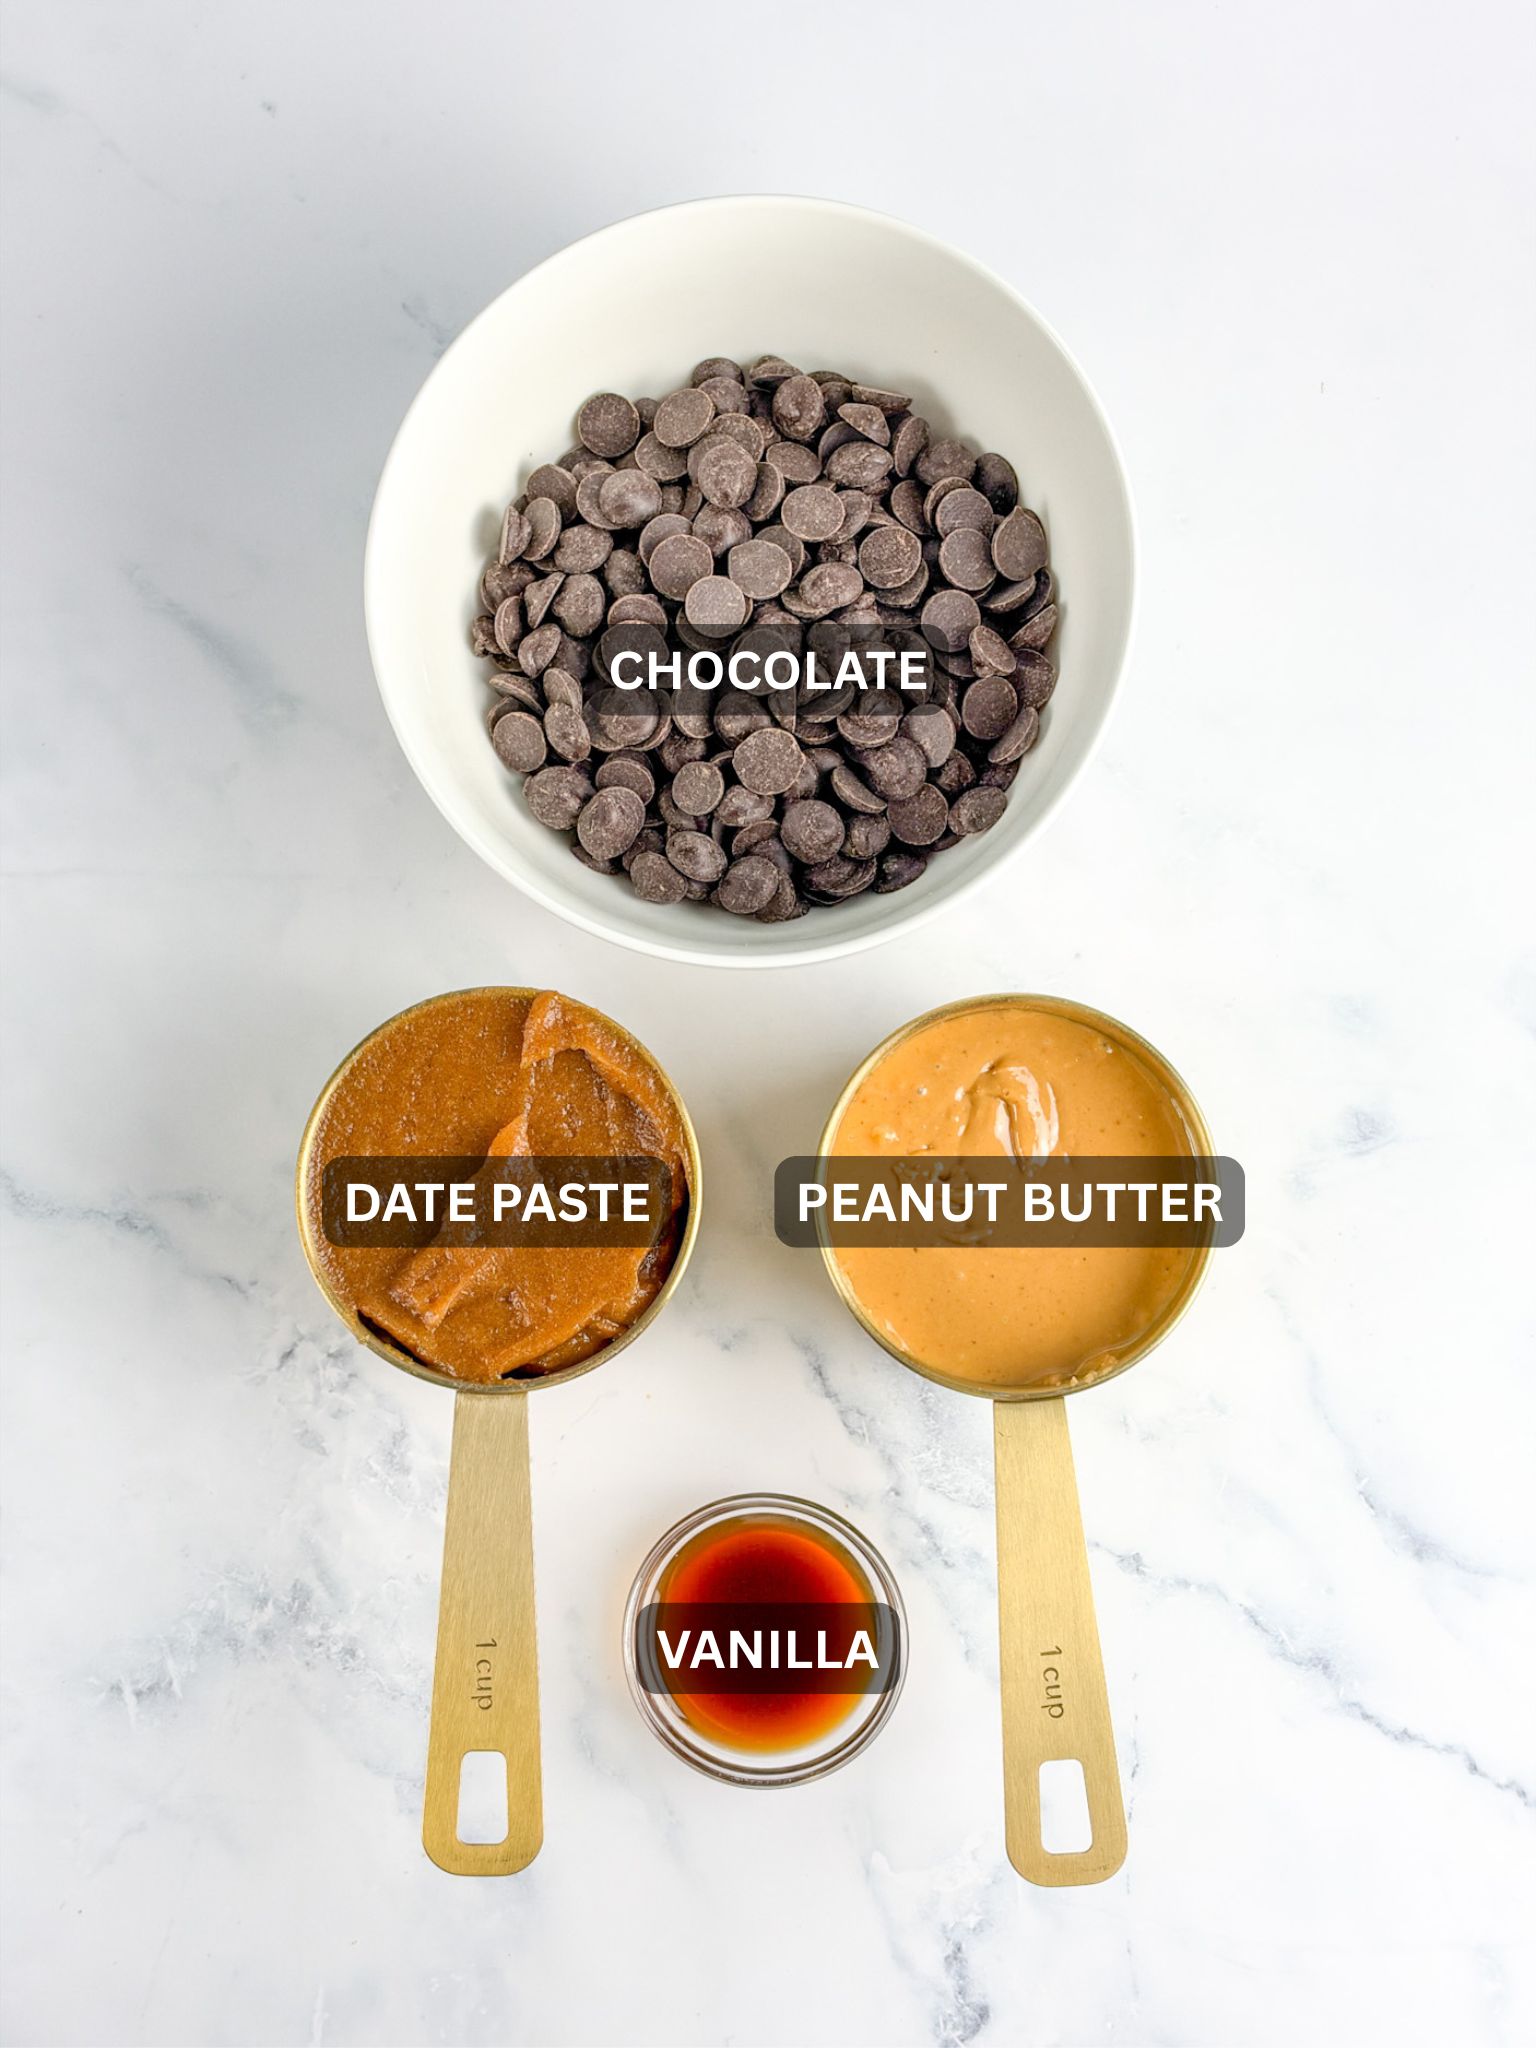
- Peanut butter – Choose a variety made only from peanuts.
- Date paste – Use my date paste for sweetness and a soft filling.
- Chocolate – Use dairy-free date-sweetened or unsweetened chocolate based on your preference.
- Vanilla – Rounds out the filling; pure vanilla extract works best.
Make Your Own Vegan Peanut Butter Cups
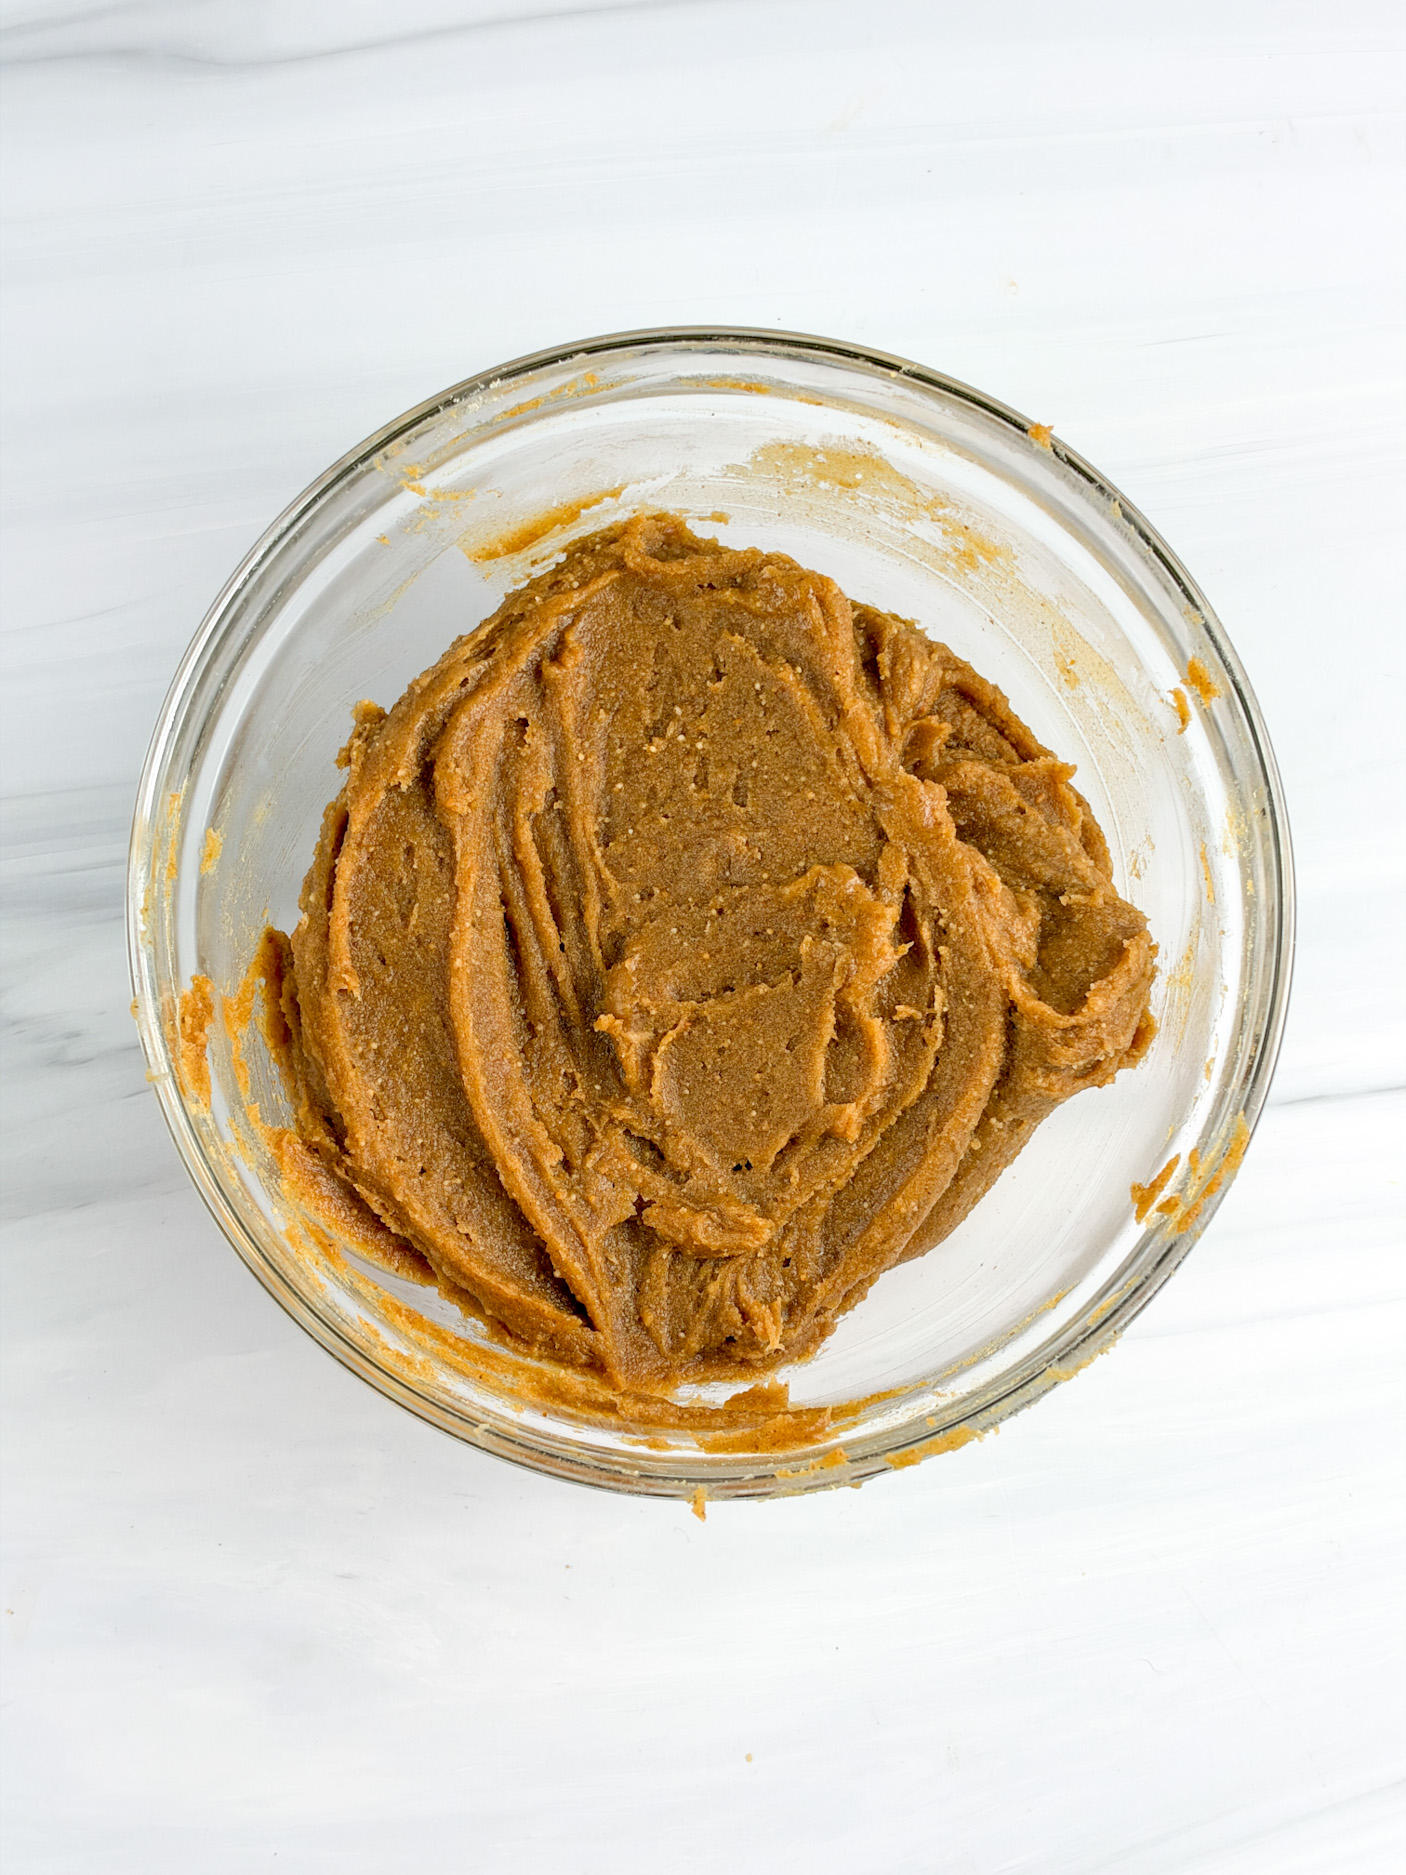
- Mix the filling. Combine peanut butter, date paste, vanilla, and optional salt; refrigerate.
- Melt the chocolate. Use a double boiler over medium-low heat, stirring until smooth.
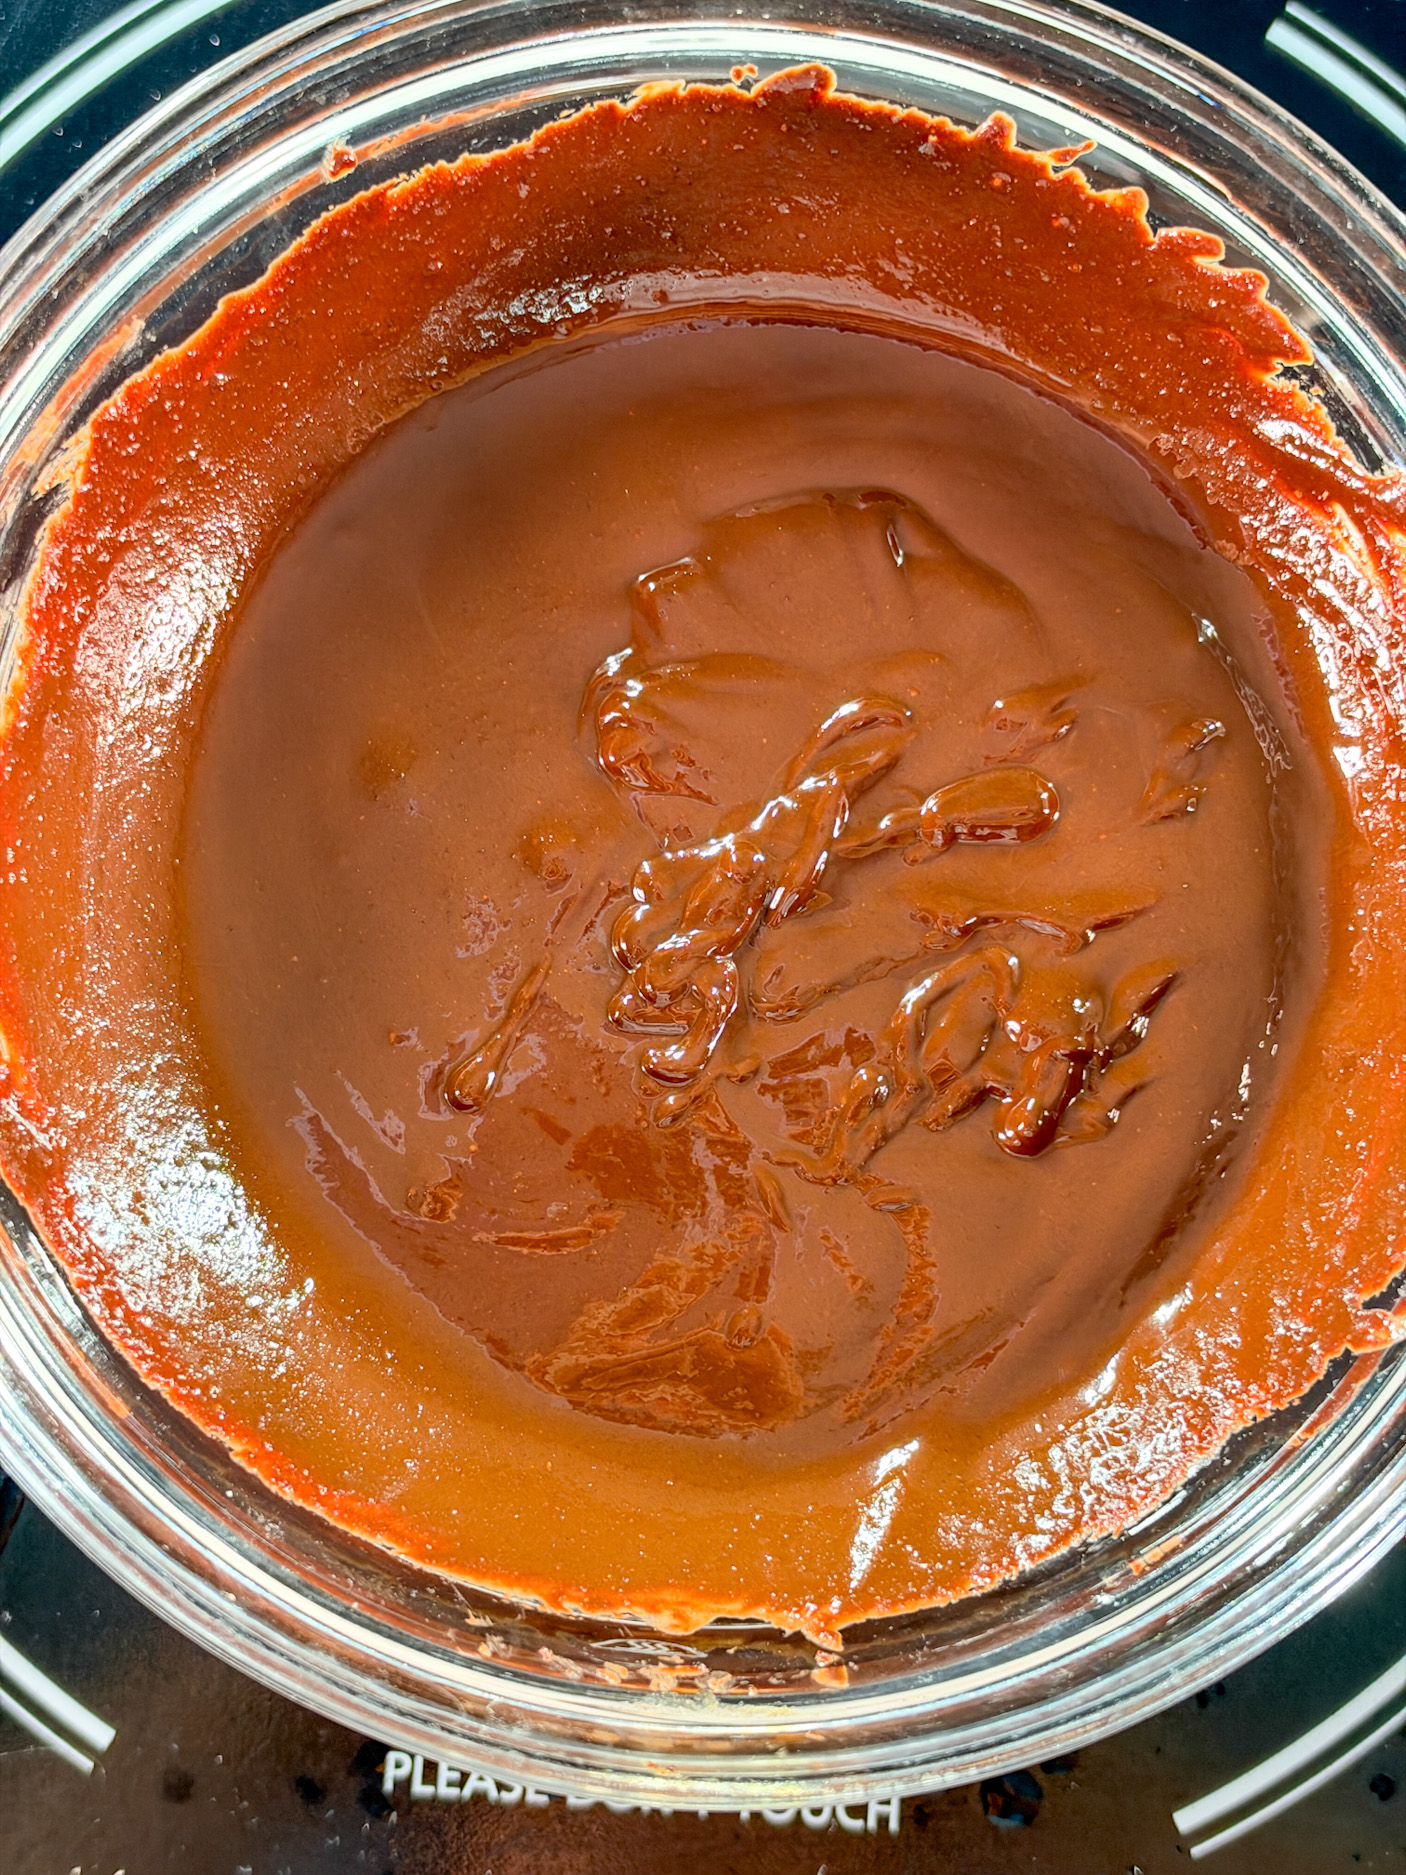
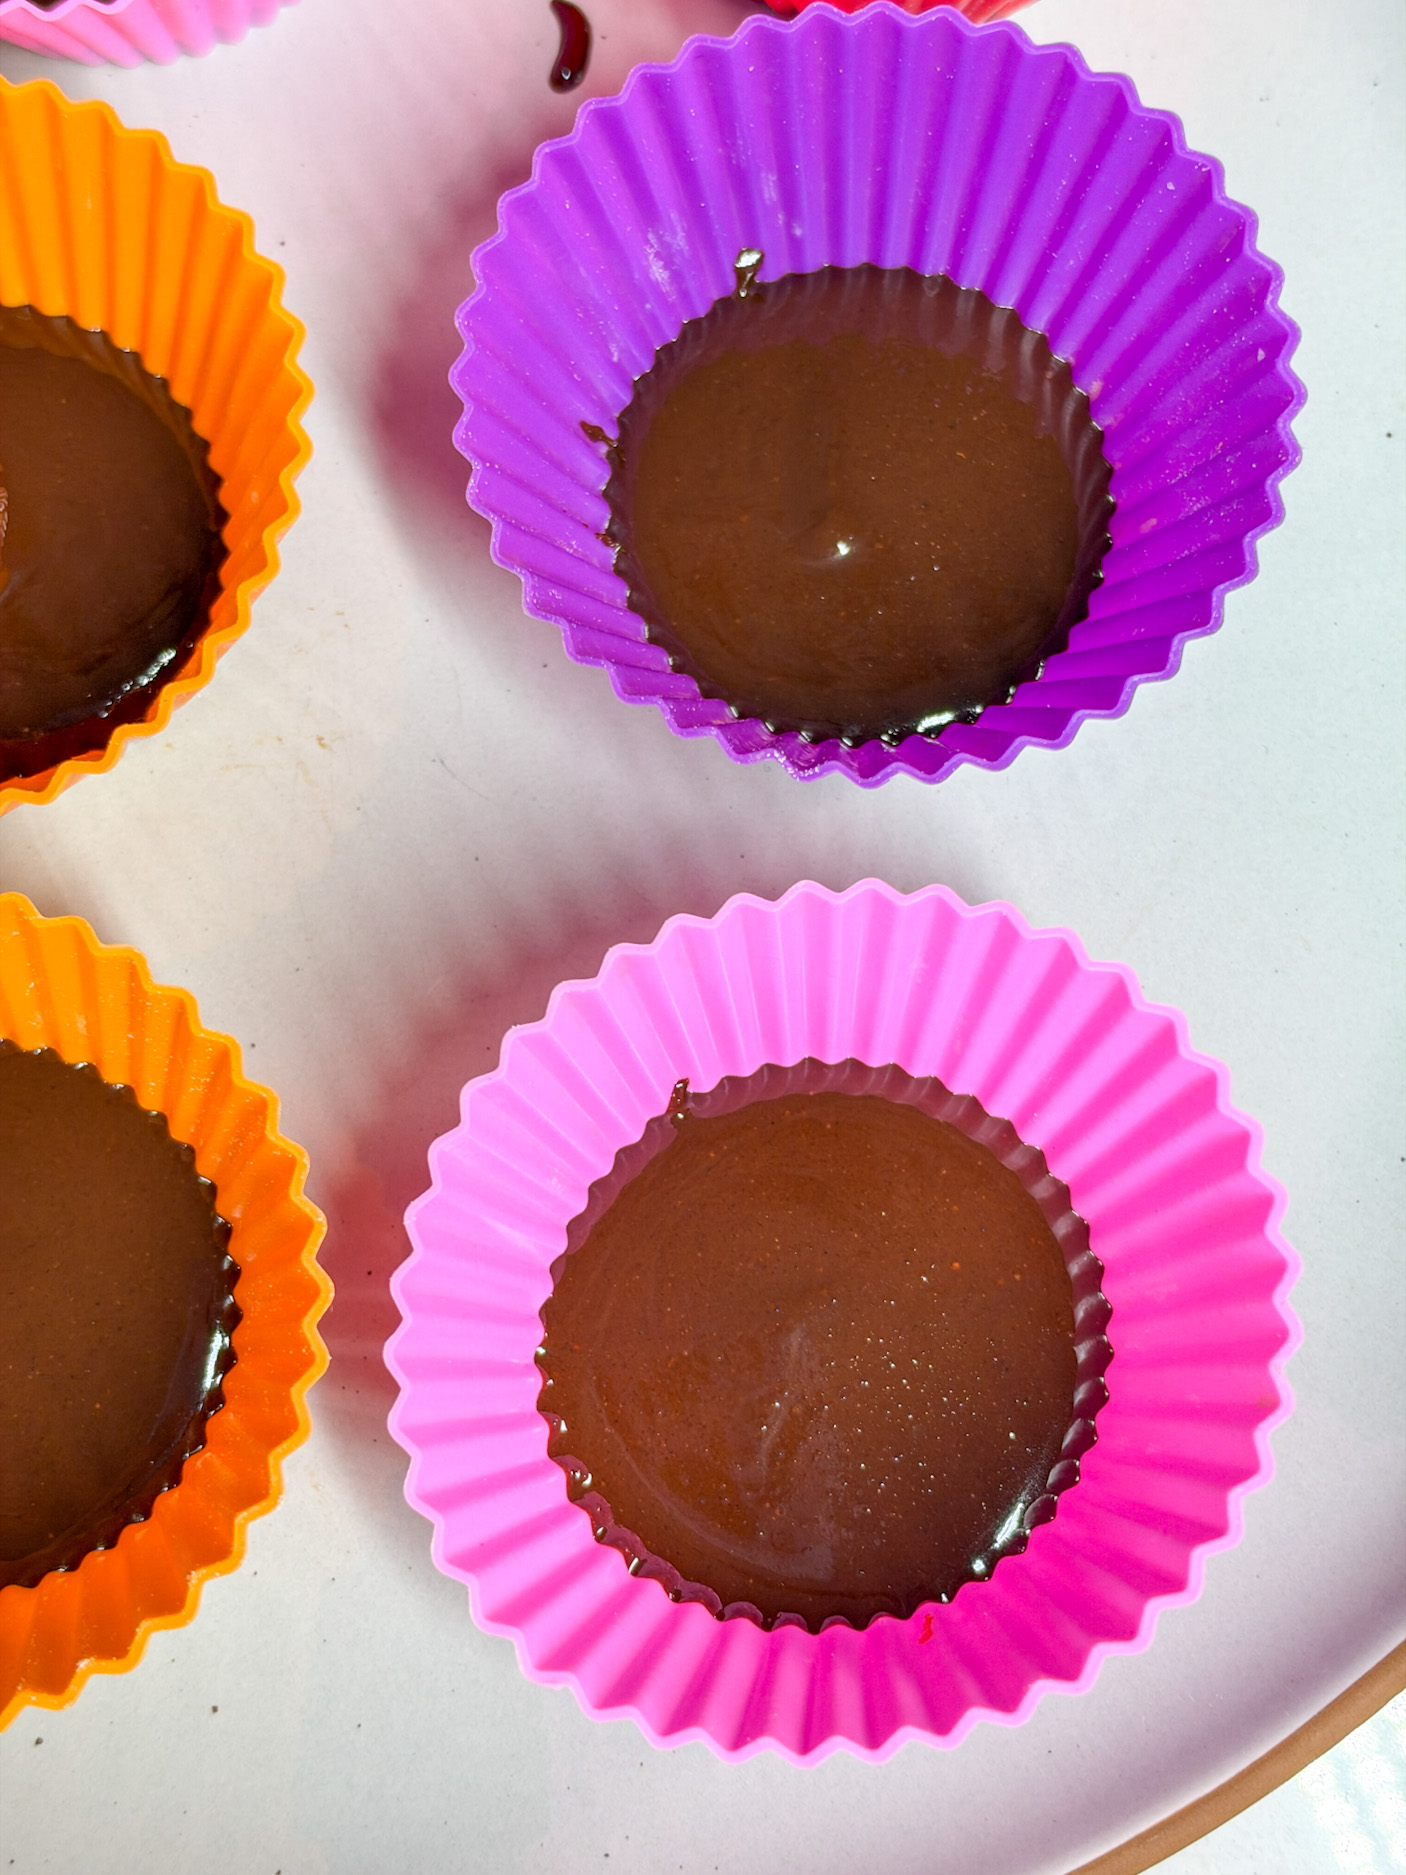
- Make the bases. Spoon 1 to 2 teaspoons of chocolate into each liner.
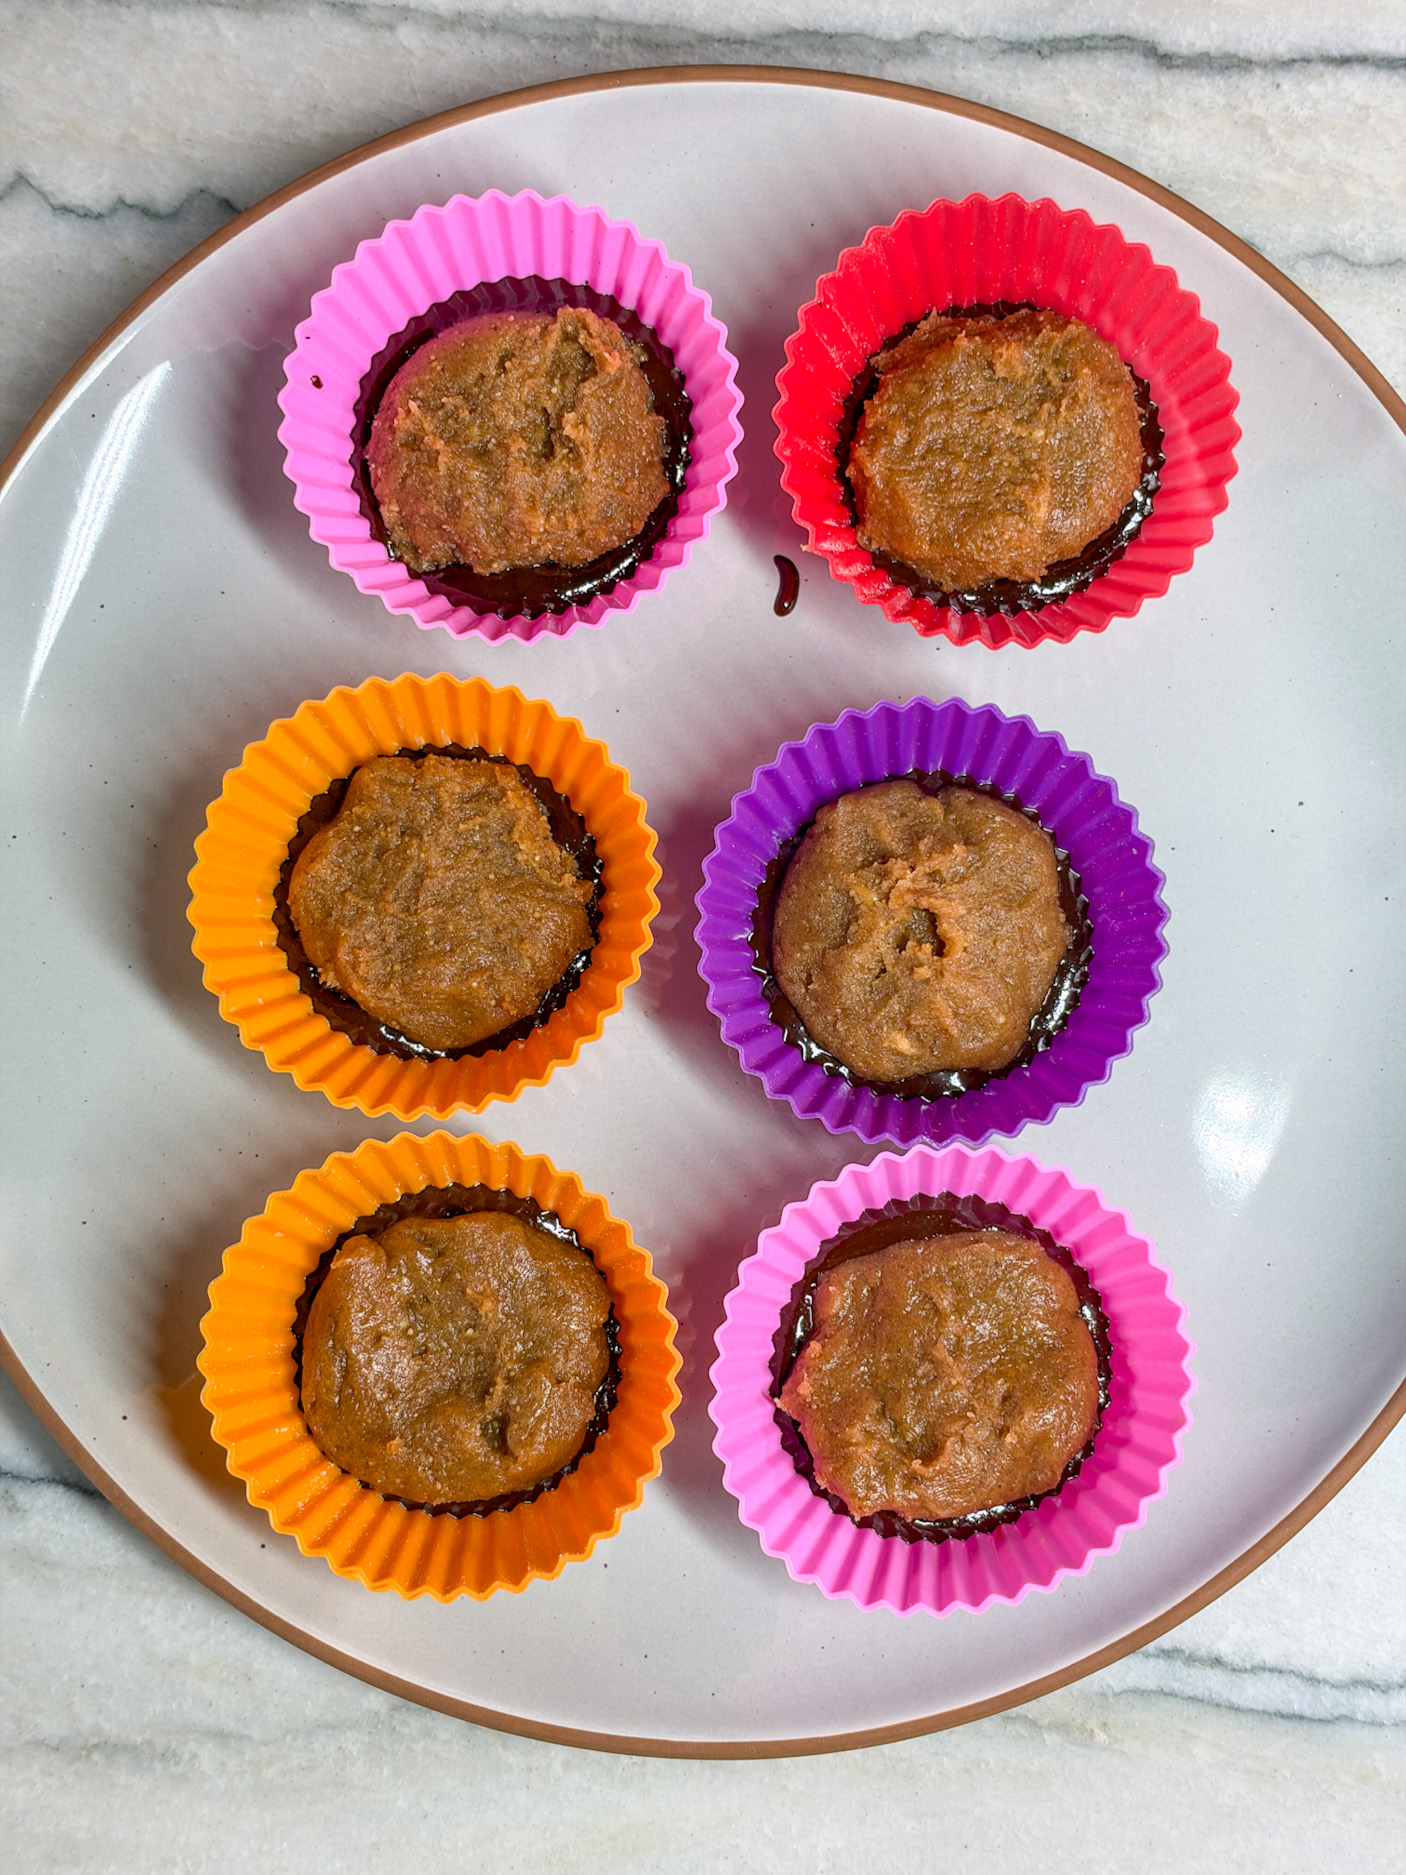
- Add the filling. Shape the peanut mixture into discs and place one in each liner.
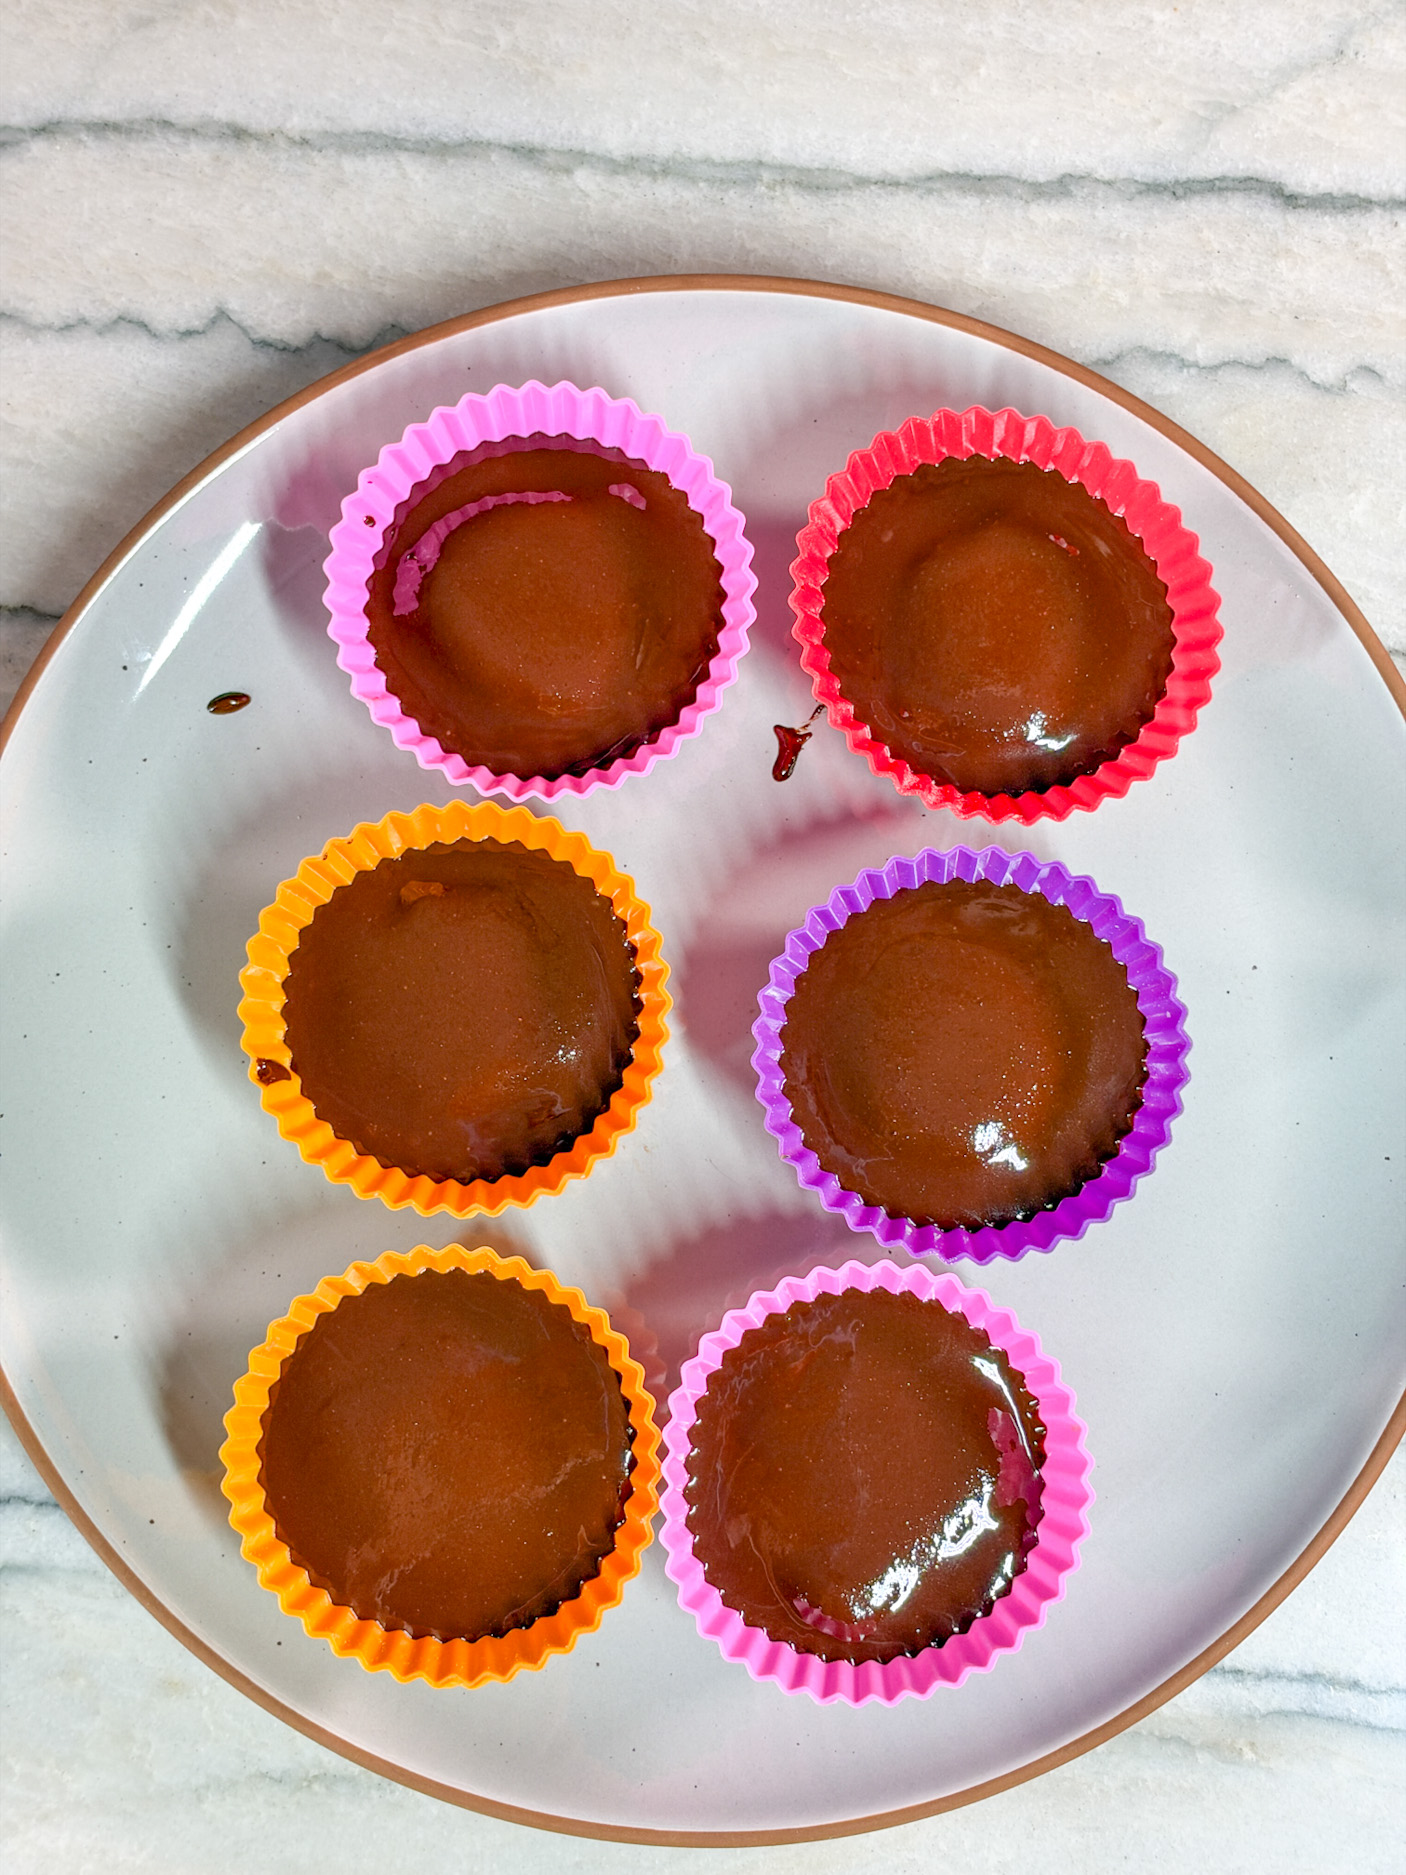
- Cover and chill. Add chocolate to cover the filling and refrigerate at least 30 minutes.
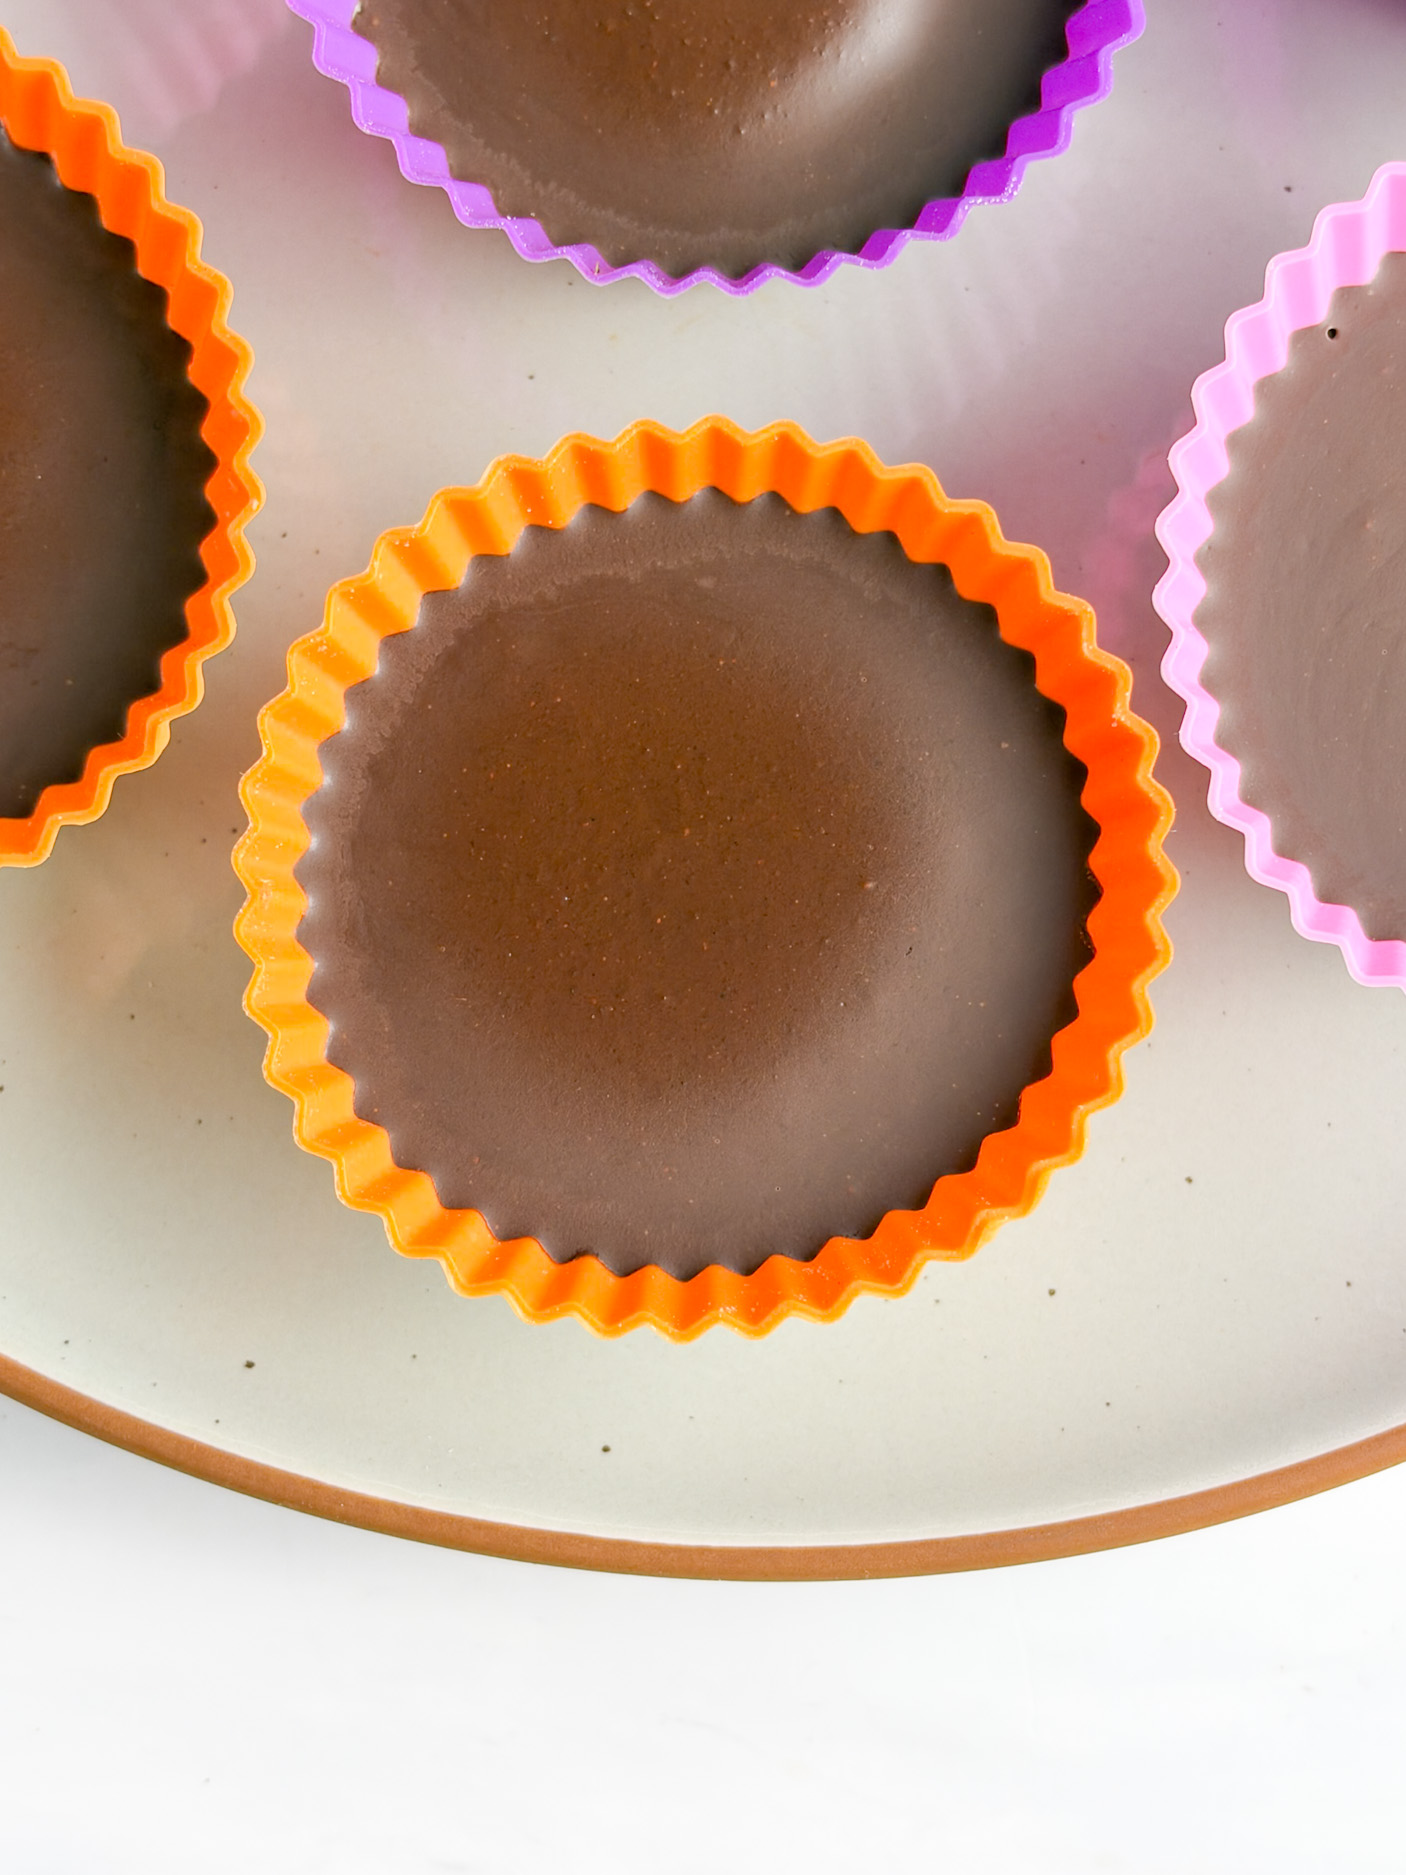
Keys to Making Great Vegan Peanut Butter Cups
- Chill the filling. A firmer mixture is easier to shape into discs.
- Keep water away from chocolate. Even a small amount can cause melted chocolate to seize.
- Leave a chocolate border. Smaller filling discs allow chocolate to surround the sides. Add just enough chocolate to cover all sides of your filling for a thinner outer chocolate shell.
- Chill completely. Wait until the shell is solid before removing the liners.
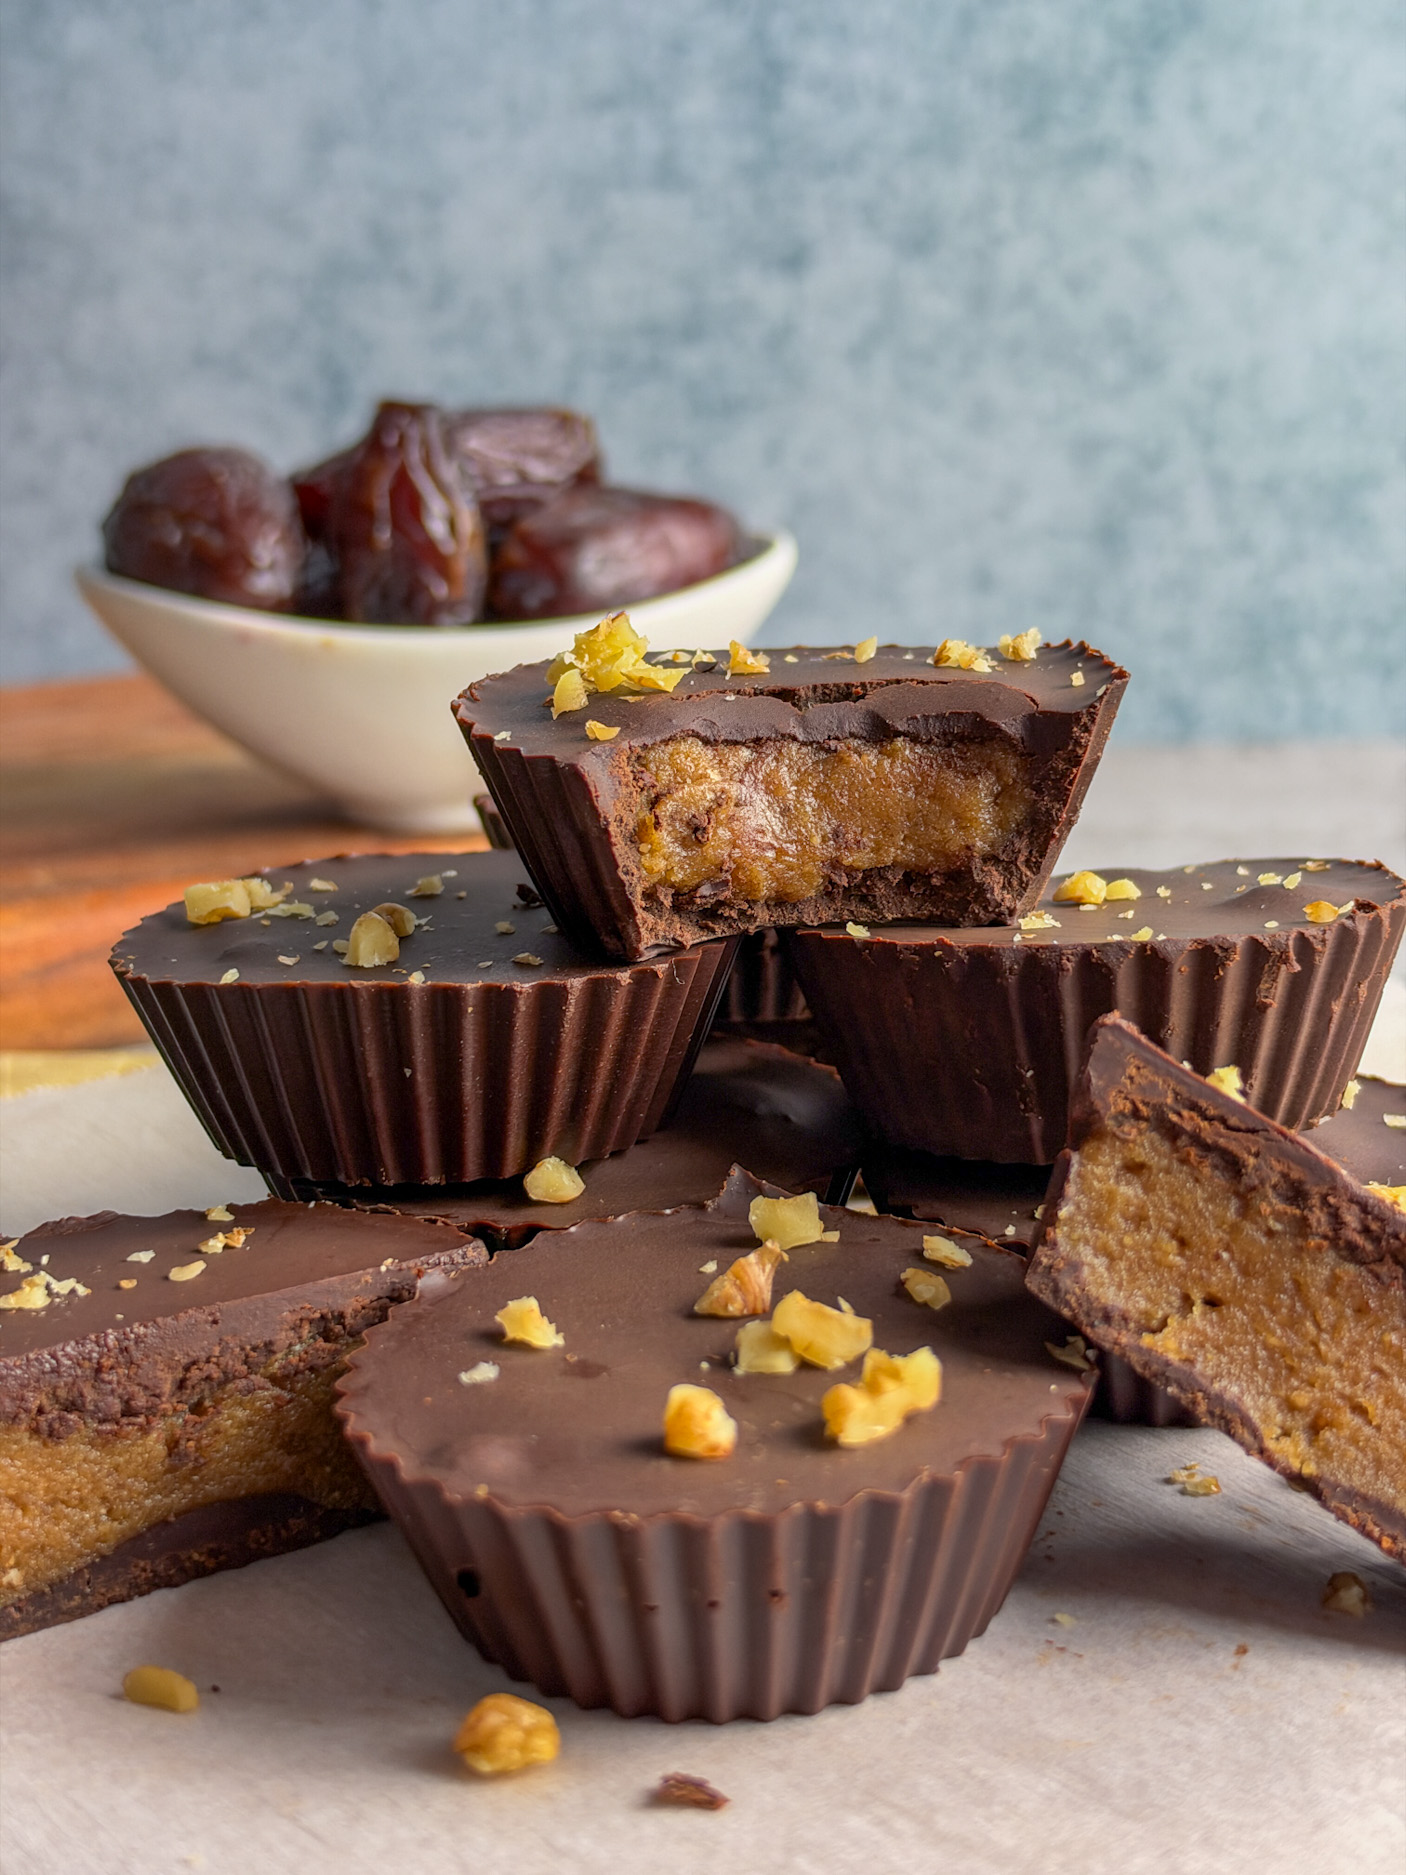
Storing and Reheating
Store in an airtight container in the refrigerator for up to 2 weeks or freeze for up to 3 months. Allow frozen cups to thaw briefly before eating. Keep them chilled because the homemade filling softens at room temperature and the chocolate may melt in a warm kitchen.
Frequently Asked Questions
Can I make these peanut-free?
Yes. Use an unsweetened nut or seed butter and confirm that the chocolate is allergen-safe.
Can I microwave the chocolate?
Yes. Heat in short intervals, stirring frequently to prevent scorching.
Why did my chocolate become thick or grainy?
It may have overheated or contacted water. Melt it slowly in completely dry equipment.
Related Recipes
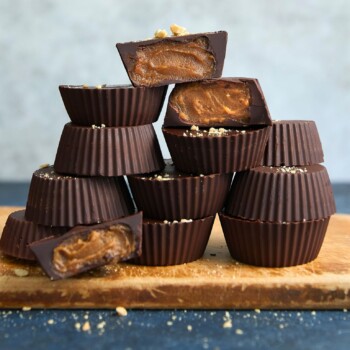
Vegan Peanut Butter Cups with Date-Sweetened Filling
Ingredients
- 3/4 cup peanut butter
- 3/4 cup date paste
- 2 teaspoons vanilla extract
- 12 ounces date-sweetened or unsweetened chocolate
- 1/2 teaspoon salt, optional, or to taste
Instructions
- Prepare. Line a cupcake pan with 12 paper or silicone liners, or arrange silicone liners on a tray.
- Mix the filling. Combine peanut butter, date paste, vanilla, and optional salt. Refrigerate while melting the chocolate.
- Melt the chocolate. Create a double boiler with about 2 cups water in a small pot and a dry heat-safe bowl above it. Heat over medium-low, stirring until the chocolate is smooth. Handle carefully. Alternatively, microwave in short intervals.
- Add the base. Spoon 1 to 2 teaspoons of chocolate into each liner to cover the bottom.
- Shape the filling. Roll 1 to 1 1/2 tablespoons of filling into a ball, flatten into a disc, and place in a liner. A smaller disc creates a thicker chocolate edge.
- Cover. Pour in enough melted chocolate to cover each filling disc.
- Set. Refrigerate for at least 30 minutes, until solid.
Video
Please Note: I occasionally update my recipes after filming the videos. For the most accurate and up-to-date ingredients and instructions, always refer to the written recipe.
Notes
- Peanut butter: Choose one without added oils or sweeteners.
- Peanut-free: Use seed butter and allergen-safe chocolate.
- Chocolate safety: Keep all tools dry and handle the hot double-boiler setup carefully.